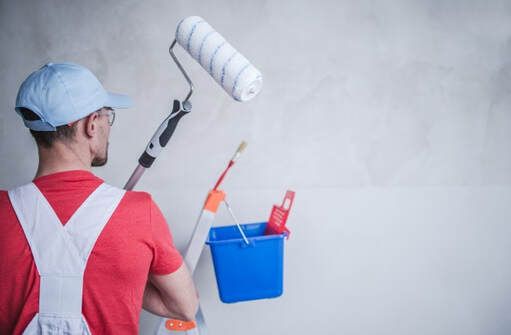
How to Repair Water Damaged Drywall
Comprehensive Guide to Repairing Water Damaged Drywall
Water damage to drywall is a common issue in many homes, especially in areas like bathrooms where moisture levels are high.
Whether it's due to a leaky roof, plumbing issues, or flooding, addressing water-damaged drywall promptly is crucial to prevent mold growth and further structural damage.
This article will provide a comprehensive guide on fixing water-damaged drywall, including specific techniques for bathroom walls and ceilings, cost considerations, and when to
seek professional repair services.
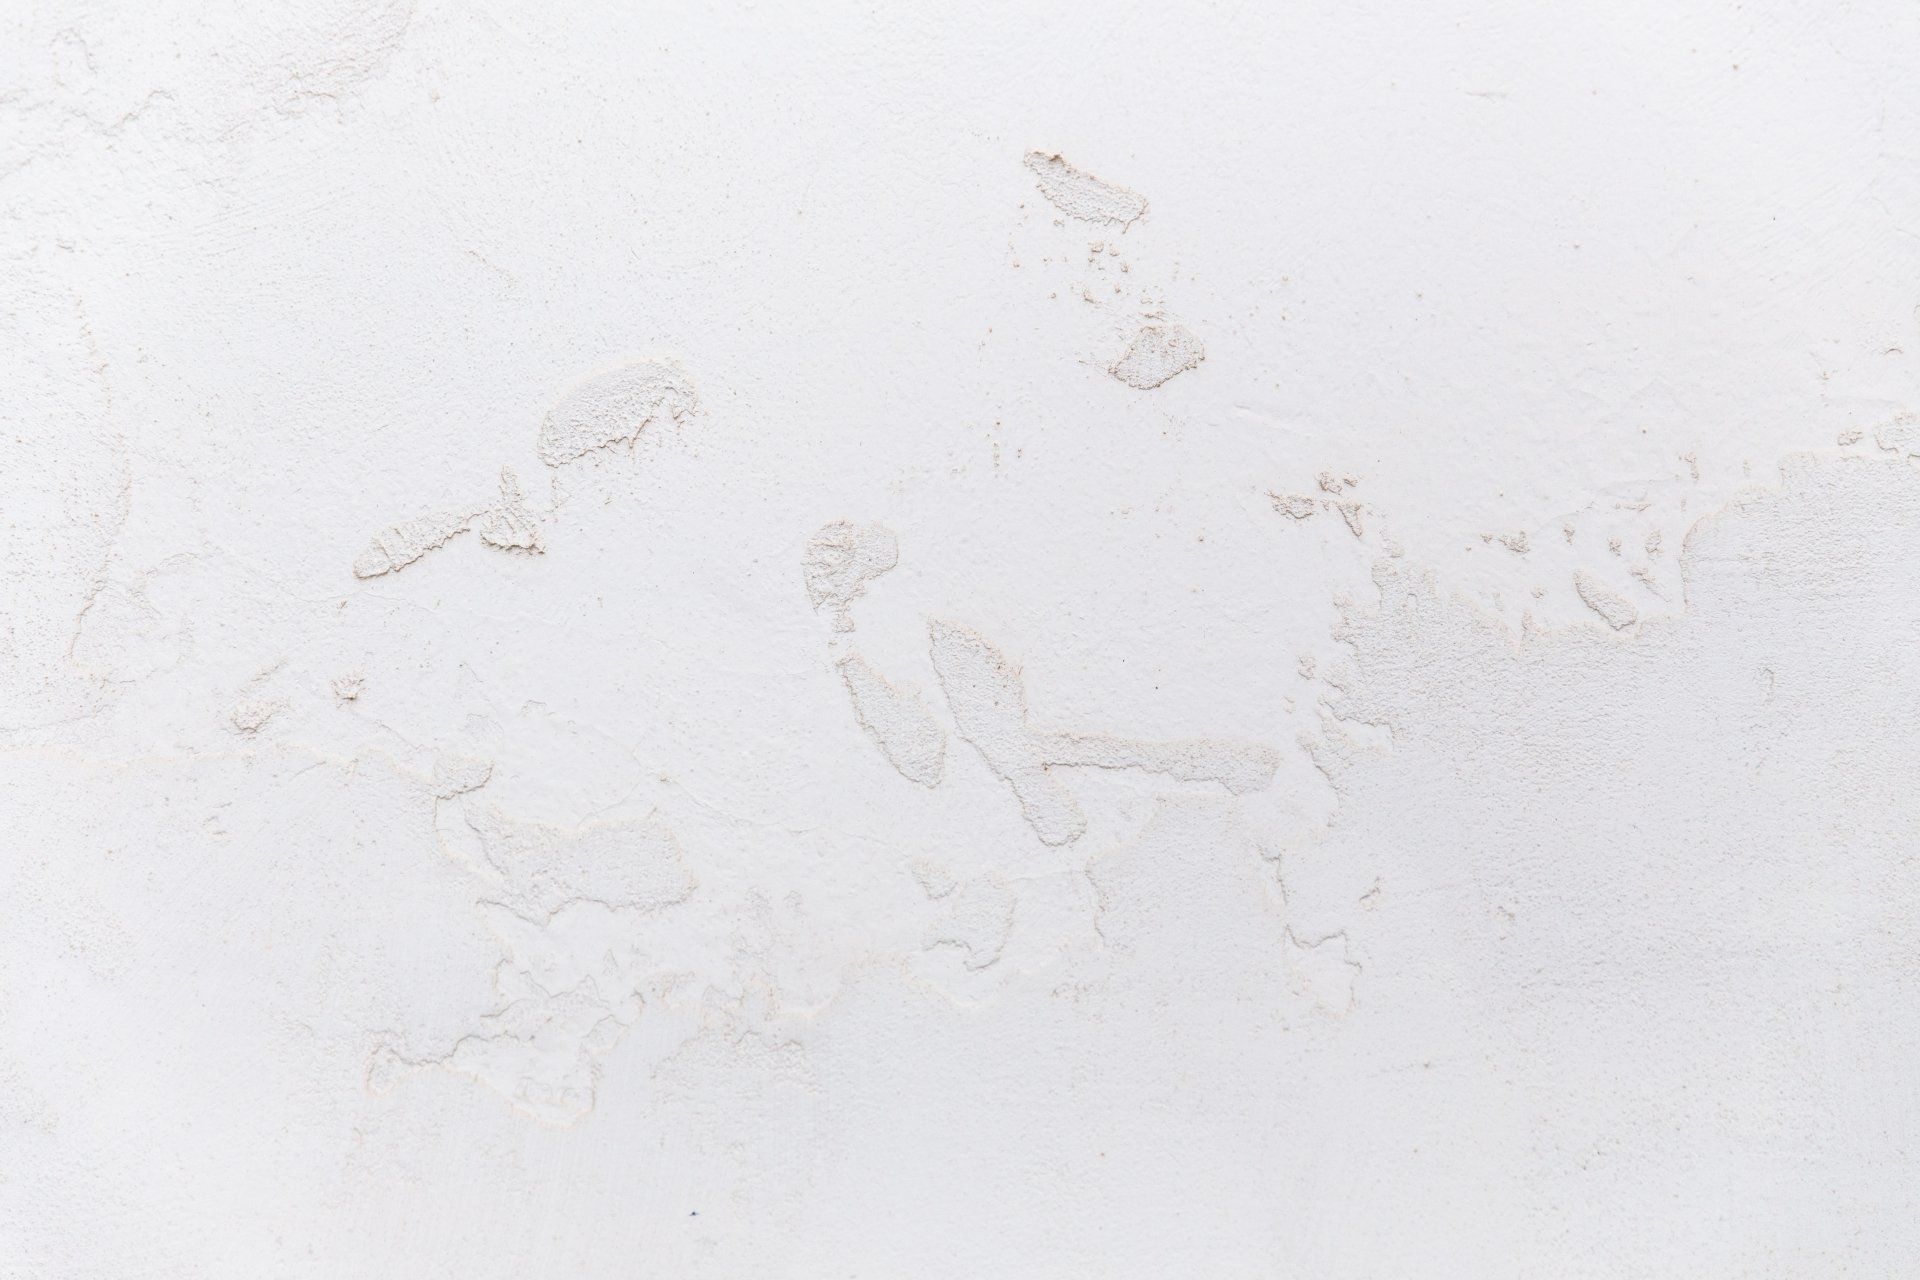
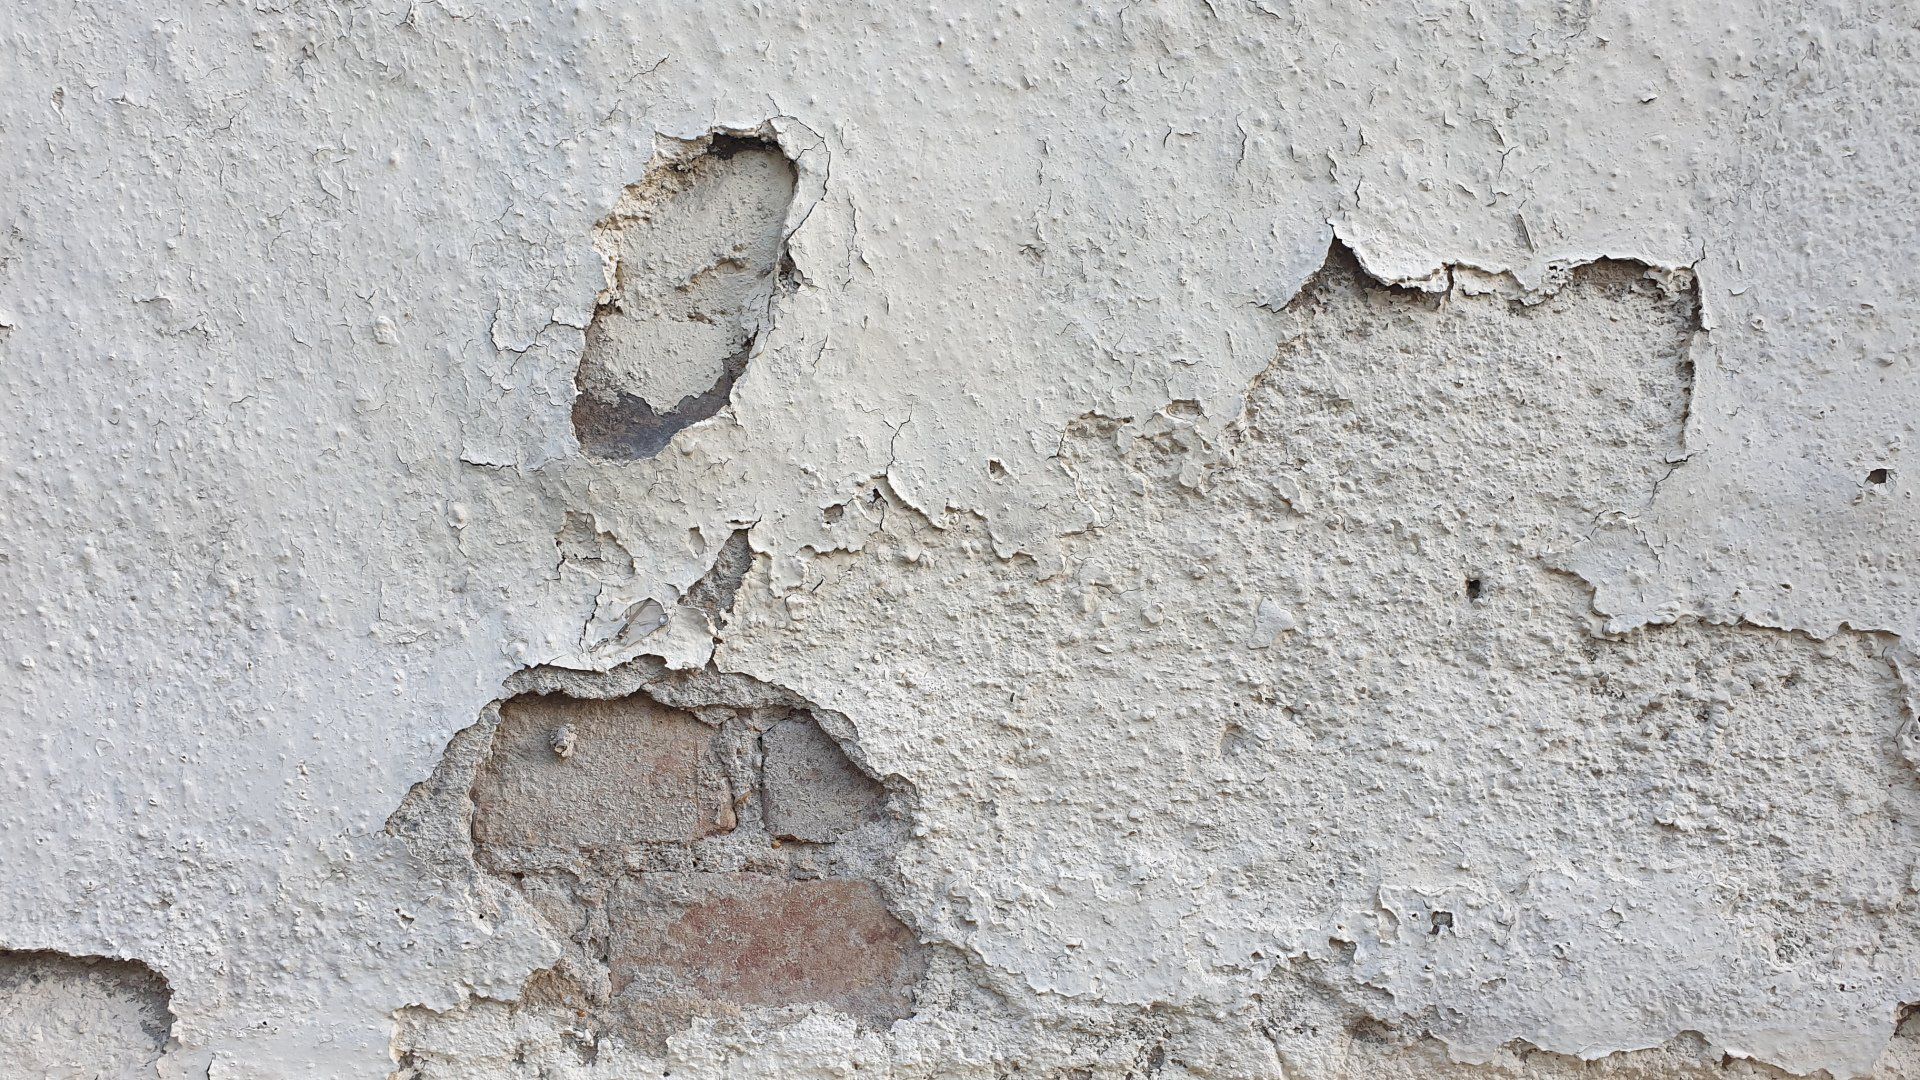
Identifying Water Damage in Drywall
Before starting the repair process, it's essential to identify the extent of the water damage. Common signs include:
Discoloration: Stains or patches that are yellow or brown.
Bubbling or Peeling Paint: Indicating that moisture is trapped underneath.
Soft or Spongy Texture: When the drywall feels soft to the touch.
Mold Growth: Black or green spots on the surface.
Essential Tools and Materials for Water Damage Repair
To effectively repair water-damaged drywall, gather the following tools and materials:
Utility knife
Drywall saw
Sanding sponge or sandpaper
Joint compound
Drywall tape (mesh or paper)
Putty knife
Paintbrush
Primer and paint
Replacement drywall panels (if necessary)
Safety gear (gloves, mask)
Step-by-Step Guide to Fixing Water Damaged Drywall
1. Preparation
Step 1: Assess the Damage
Start by assessing the extent of the damage. For minor water damage, you may only need to repair the affected area. For severe damage, replacing entire sections of drywall might be necessary.
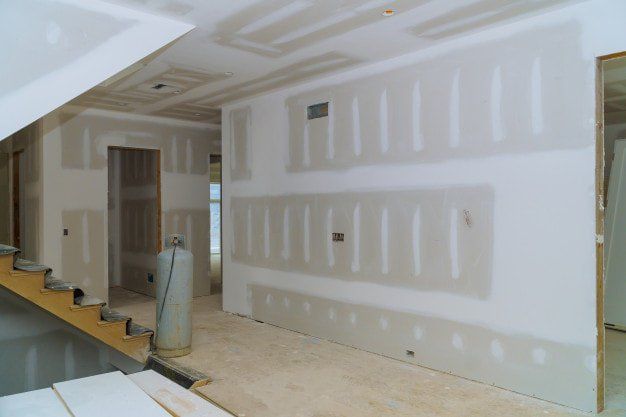
Step 2: Remove Damaged Drywall
Using a utility knife and drywall saw, cut out the damaged section of the drywall. Ensure you cut back to where the drywall is dry and firm.
2. Drying the Area
Step 3: Dry the Area Thoroughly
Before proceeding with the repair, ensure the area is completely dry. Use fans, dehumidifiers, and proper ventilation to speed up the drying process.
3. Repairing Minor Water Damaged Drywall
Step 4: Apply Joint Compound
For minor water damage, apply a layer of joint compound over the affected area using a putty knife. Spread it evenly, feathering the edges to blend it with the surrounding wall.
Step 5: Apply Drywall Tape
Place drywall tape over the joint compound while it is still wet. Smooth it out to remove any air bubbles.
Step 6: Apply Additional Layers
Once the first layer is dry, apply additional layers of joint compound, sanding between each layer until the surface is smooth and even.
4. Fixing Water Damaged Drywall in Bathrooms
Bathrooms are particularly prone to water damage due to high humidity and frequent exposure to water.
Step 7: Use Moisture-Resistant Drywall
When repairing water-damaged drywall in bathrooms, consider using moisture-resistant drywall (green board) to prevent future issues.
Step 8: Seal the Area
Apply a waterproof sealant to the repaired area to protect it from future water damage.
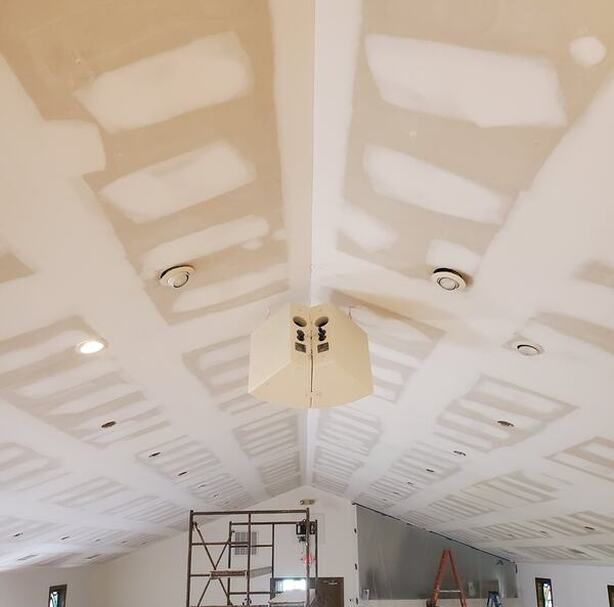
5. Fixing Water Damaged Drywall Ceilings
Ceiling repairs require extra caution due to the risk of falling debris.
Step 9: Remove Damaged Ceiling Drywall
Cut out the damaged section using a utility knife and drywall saw. Be sure to support the surrounding drywall to prevent further damage.
Step 10: Install New Drywall
Cut a new piece of drywall to fit the hole and secure it with drywall screws. Apply joint compound and tape as previously described.
6. Priming and Painting
Step 11: Sand and Smooth
Once the final layer of joint compound is dry, sand the area to achieve a smooth finish.
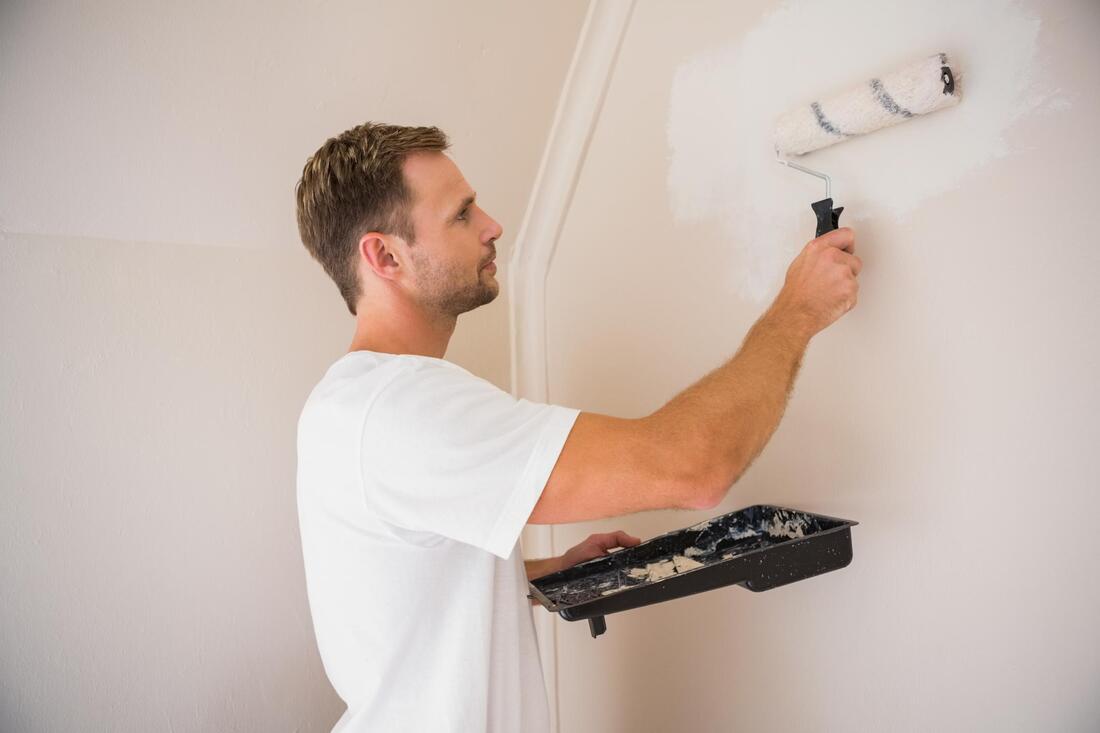
Step 12: Prime and Paint
Apply a primer to the repaired area, followed by paint that matches the rest of the wall or ceiling.
Want to know more about how to deal with drywall water damage? Check out this blog.
Cost Considerations for Drywall Water Damage Repair
The cost of drywall water damage repair can vary widely depending on the extent of the damage and whether professional repair services are required. On average, homeowners can expect to pay:
Minor Repairs: $100-$300
Moderate Repairs: $300-$800
Extensive Repairs: $800-$1,500 or more
When to Hire Professional Repair Services
While many minor repairs can be handled by homeowners, extensive damage, especially involving structural issues or mold, should be addressed by professional repair services. In areas like Chicago, specialized drywall repair services can provide expert assessment and high-quality repairs, ensuring long-lasting results.
Conclusion
Fixing water-damaged drywall is a necessary task to maintain the integrity and appearance of your home. Whether dealing with minor issues or extensive damage, following the proper repair techniques and using the right materials will ensure a successful outcome. For complex repairs or extensive damage, professional repair services can offer the expertise needed to restore your walls and ceilings to their original condition.
Ready to work with CHICAGO DRYWALL REPAIR?
Let's connect! We’re here to help.
Send us a message and we’ll be in touch.
Or give us a call today at 111-222-3333
Agency Contact Form
More Marketing Tips, Tricks & Tools