How to Fix Drywall Seam Splits Effectively
Effective Solutions for Fixing Drywall Seam Splits
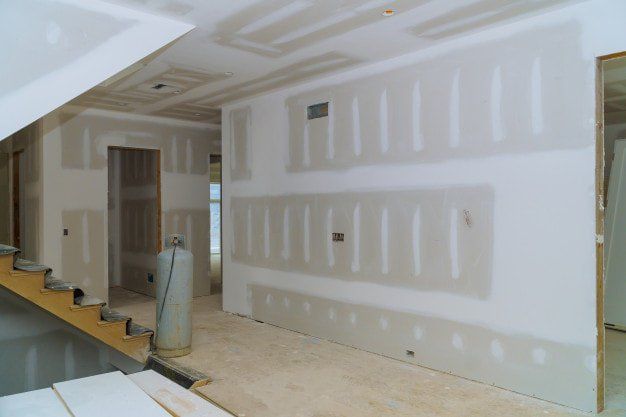
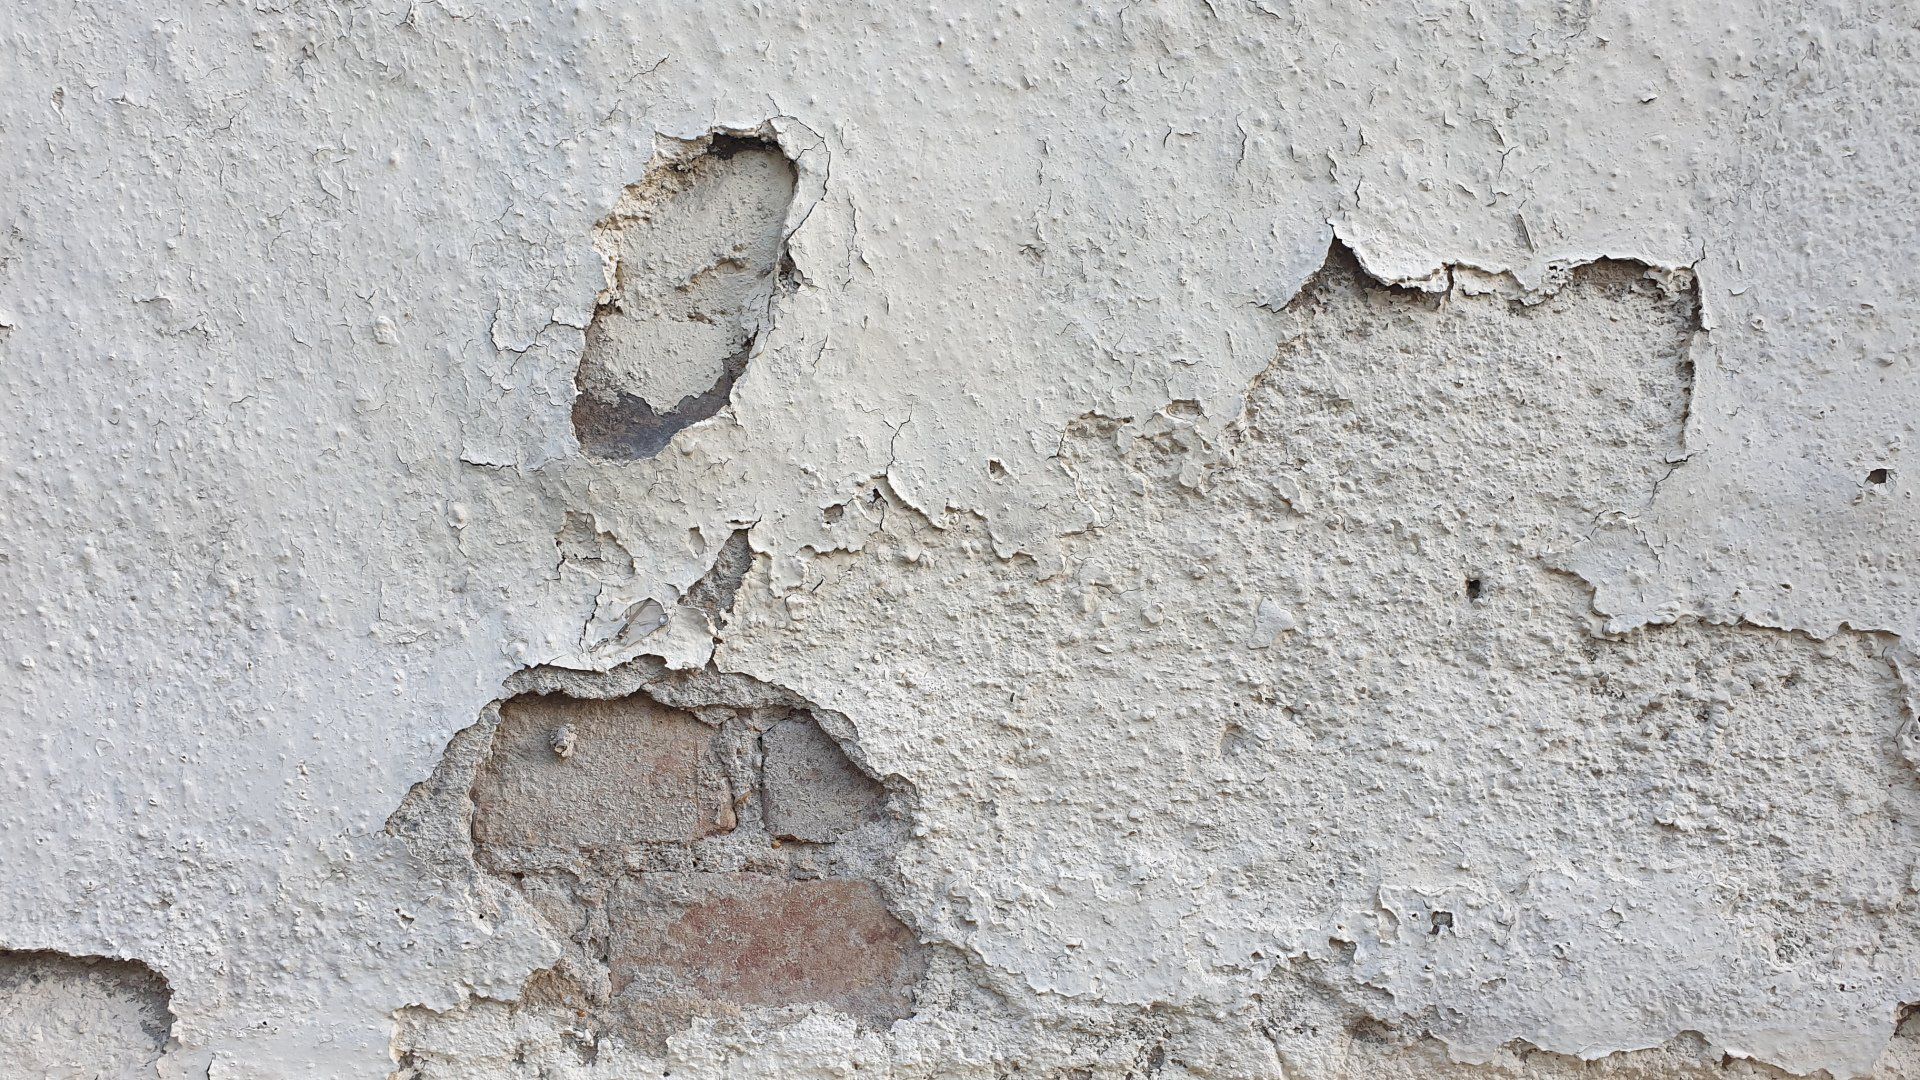
Drywall seam splits are a common issue in many homes, often resulting from structural settling, temperature fluctuations, or improper installation. These splits can be unsightly and, if left untreated, may lead to more significant problems.
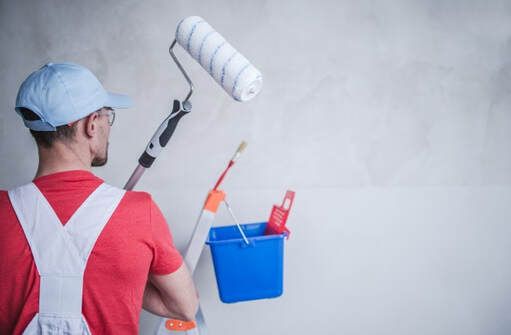
Here we provide comprehensive guide on solving drywall seam splitting, including ceiling cracks along drywall seams, and offers methods on how to fix drywall seams on ceilings and fix drywall cracks without tape. Before you continue, it's always advised to opt for professional help to avoid any issues with code and have perfect repairs.
Understanding Drywall Seam Splits
Drywall seam splits occur where two pieces of drywall meet and are taped together. Over time, these seams can crack or split due to various factors:
Structural Settling: As a building settles, the movement can cause stress on the drywall seams, leading to splits.
Temperature and Humidity Changes: Fluctuations in temperature and humidity can cause the drywall to expand and contract, leading to cracks along the seams.
Poor Installation: Improperly taped and mudded seams are more prone to splitting.
Tools and Materials Needed for Drywall Repair
To effectively repair drywall seam splits, gather the following tools and materials:
Utility knife
Drywall saw
Sanding sponge or sandpaper
Joint compound (also known as mud)
Drywall tape (mesh or paper)
Putty knife
Paintbrush
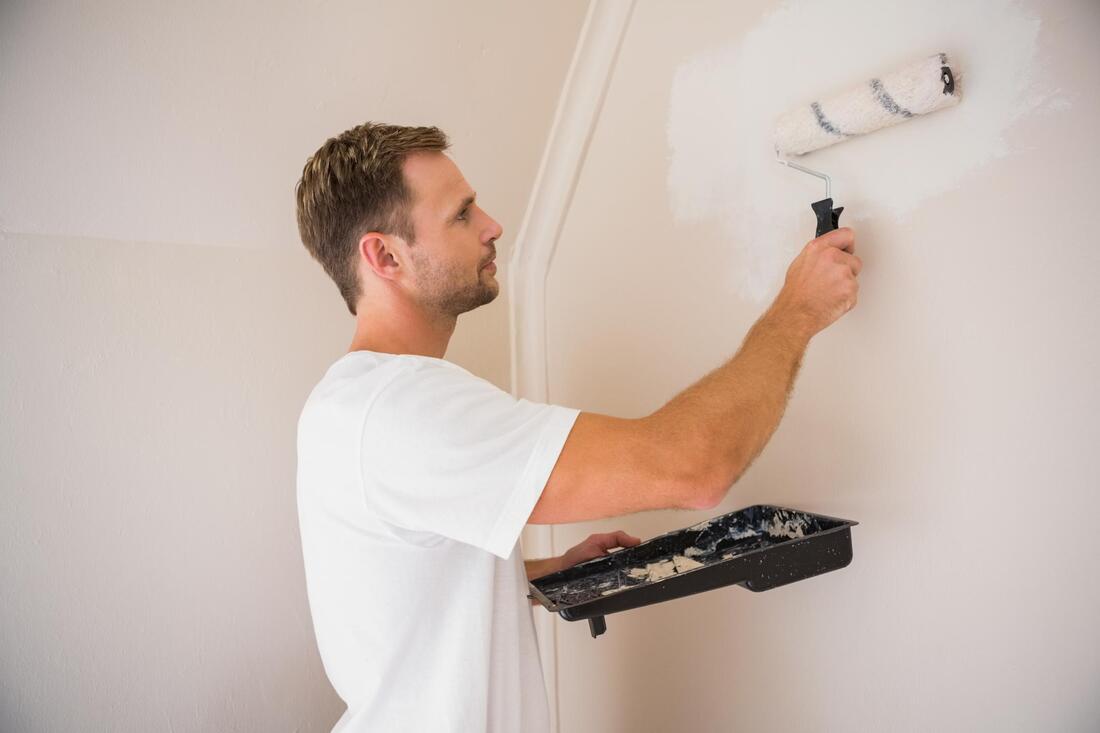
Primer and paint
Safety gear (gloves, mask)
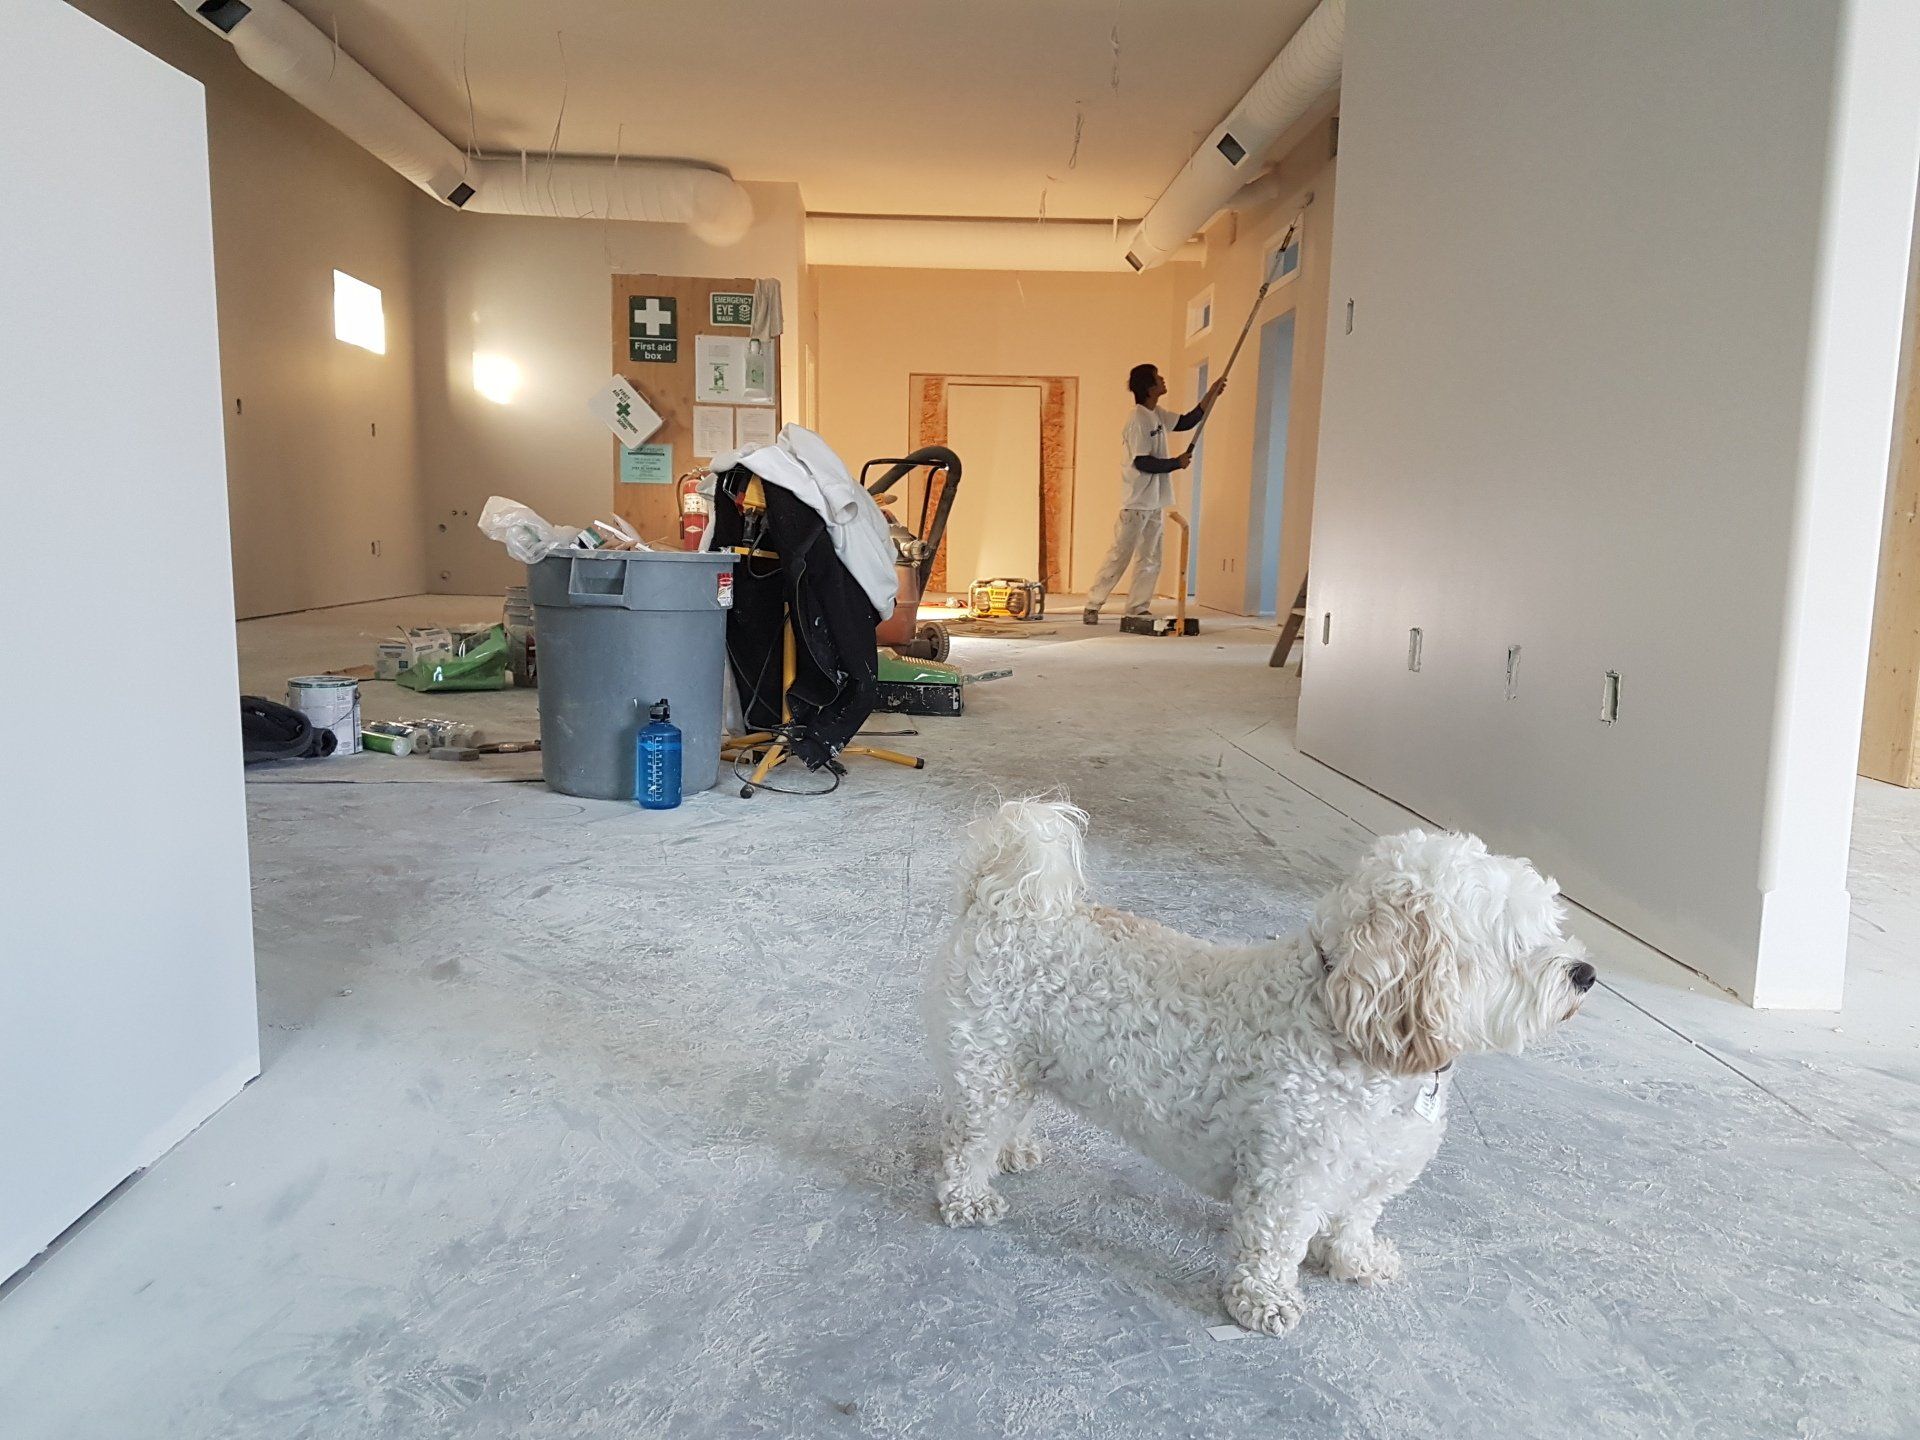
Step-by-Step Guide to Solving Drywall Seam Splitting
1. Preparation
Step 1: Assess the Damage
Inspect the seam splits to determine the extent of the damage. Minor splits may only require a simple repair, while more extensive damage might need additional steps.
Step 2: Remove Loose Material
Using a utility knife, carefully cut away any loose or damaged material along the seam split. Be sure to remove any peeling tape or compound.
2. Repairing the Drywall Seam
Step 3: Apply Joint Compound
Using a putty knife, apply a thin layer of joint compound along the seam split. Spread it evenly, ensuring it covers the entire crack.
Step 4: Apply Drywall Tape
Place drywall tape over the wet joint compound. Mesh tape is self-adhesive and easier to work with, while paper tape provides a stronger hold but requires embedding in the compound.
Step 5: Apply Additional Layers
Apply another layer of joint compound over the tape, feathering the edges to blend it with the surrounding wall. Allow this layer to dry completely. For best results, apply two to three thin layers, sanding between each layer to achieve a smooth finish.
3. Fixing Drywall Seams on Ceilings
Ceiling cracks along drywall seams require special attention due to the gravity factor. The process is similar to wall seams but with extra caution to prevent sagging.
Step 6: Support the Ceiling Area
If the ceiling drywall is sagging, use temporary supports to hold it in place while you work.
Step 7: Remove Damaged Material
Cut away any loose or damaged material along the ceiling seam using a utility knife or drywall saw.
Step 8: Apply Joint Compound and Tape
Apply a layer of joint compound along the ceiling seam, followed by drywall tape. Ensure the tape is securely embedded in the compound.
Step 9: Apply Additional Layers
Apply additional layers of joint compound, sanding between each layer to ensure a smooth finish. Be mindful of gravity and apply thinner layers to prevent sagging.
4. Fixing Drywall Cracks Without Tape
For minor cracks, it's possible to fix drywall cracks without tape. This method is suitable for small, hairline cracks that don't require structural reinforcement.
Step 10: Clean the Crack
Clean the crack to remove any dust or loose material using a utility knife or a small brush.
Step 11: Apply Joint Compound
Apply a thin layer of joint compound directly into the crack using a putty knife. Smooth it out to ensure it blends with the surrounding wall.
Step 12: Sand and Finish
Once the compound is dry, sand the area lightly to create a smooth finish. Apply primer and paint to match the rest of the wall.
Have drywall water damage? Here's how you can
deal with it.
When to Ask for Professional Help
While many drywall repairs can be tackled by homeowners with basic DIY skills, there are times when it’s best to seek professional help.
If the damage is extensive, such as large areas of sagging or multiple seam splits,
professional drywall repair services can ensure a high-quality, long-lasting fix. Additionally, if you notice signs of structural damage, such as significant movement or cracks that reappear after repair, a professional assessment is crucial. Experts have the tools, experience, and knowledge to address underlying issues and prevent future problems, ensuring the integrity and appearance of your home.
Preventive Measures
Preventing drywall seam splits involves addressing the underlying causes:
Control Humidity:
Use dehumidifiers in damp areas to prevent moisture buildup.
Proper Installation: Ensure drywall seams are properly taped and mudded during installation.
Regular Maintenance: Inspect your drywall regularly for signs of cracking and address issues promptly.
Conclusion
Solving drywall seam splitting requires understanding the cause, using the right materials, and following a systematic repair process. Whether dealing with wall or ceiling cracks, these methods will help you achieve a seamless, professional finish. For extensive damage or structural issues, consider consulting professional drywall repair services to ensure the best results.
Ready to work with CHICAGO DRYWALL REPAIR?
Let's connect! We’re here to help.
Send us a message and we’ll be in touch.
Or give us a call today at 111-222-3333
Agency Contact Form
More Marketing Tips, Tricks & Tools